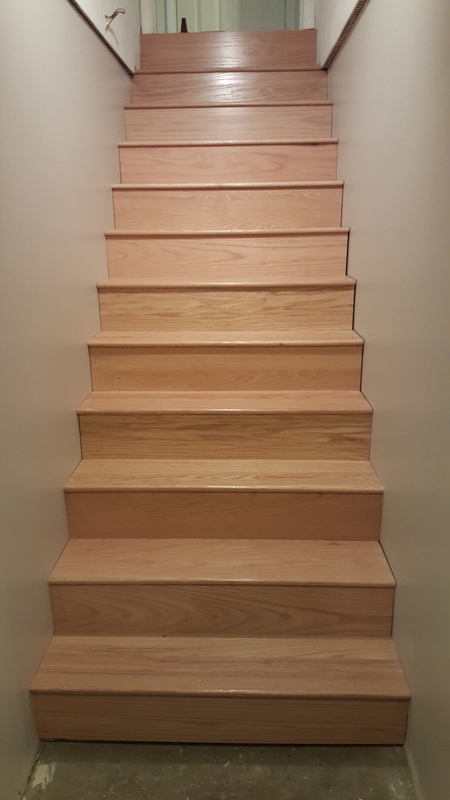
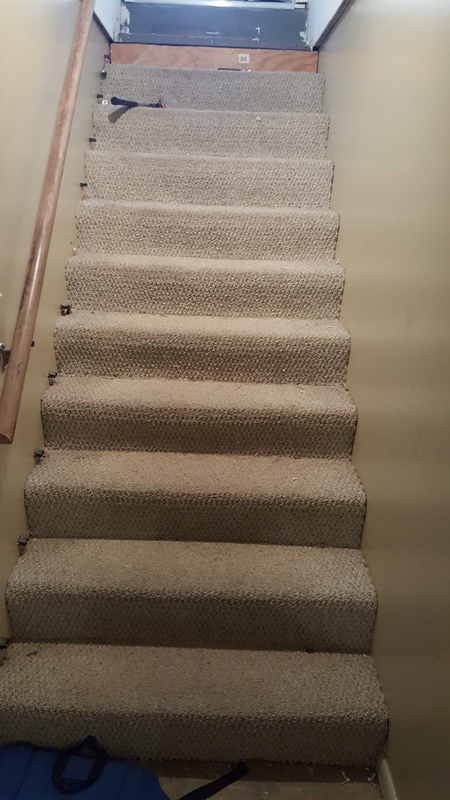
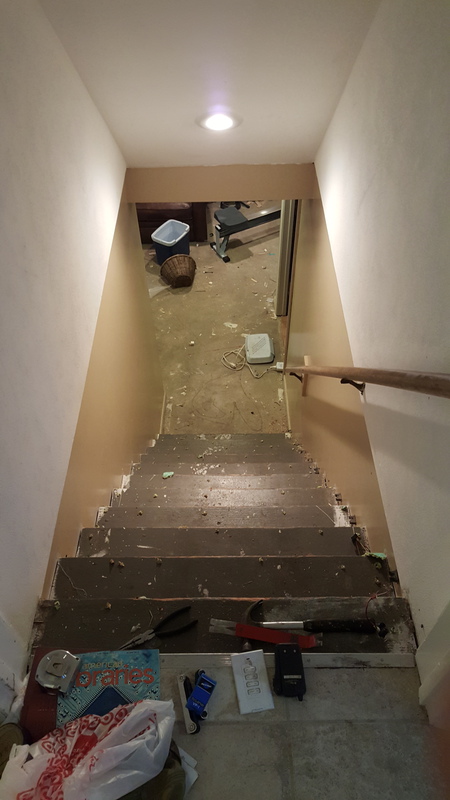
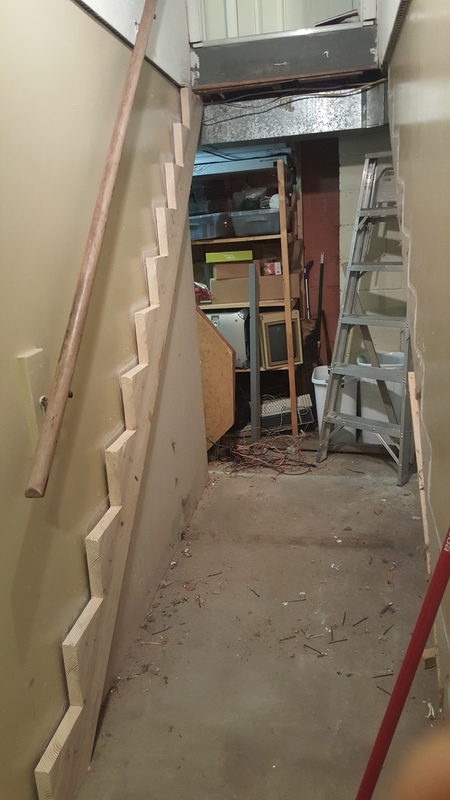
I took out the carpeted functional basement stairs that came with my house, and made some new stringers and oak treads and risers to replace them.
You can see the original steps were not much to look at.
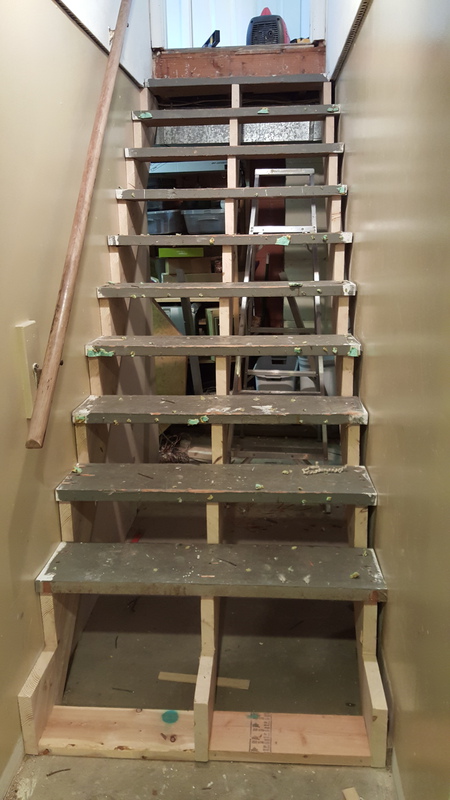
The treads and risers were not much to look at either.
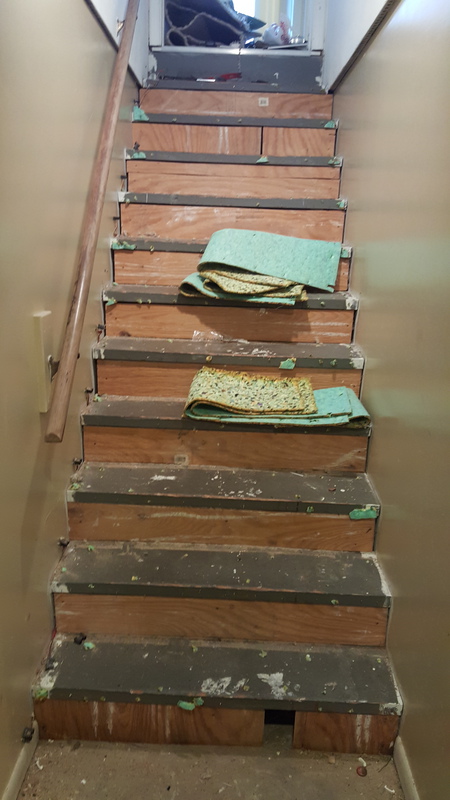
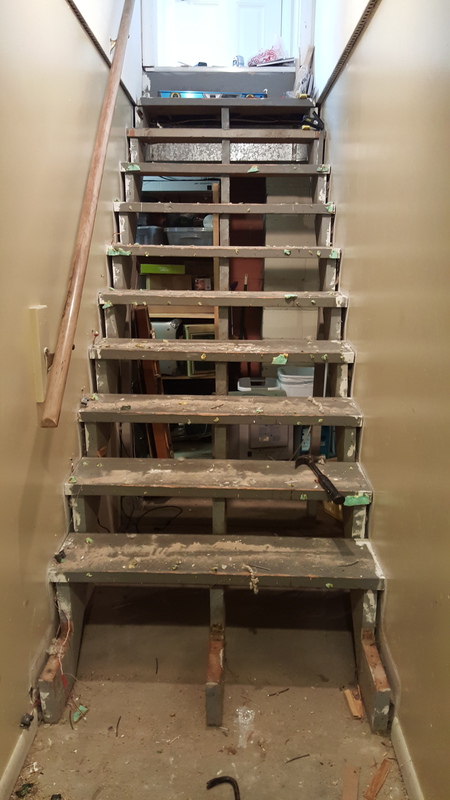
The advantage of budget stairs is that they are easy to disassemble! The new stairs I built are glued and screwed to each other and the stringers, so they will take a lot more effort to replace in the future.
Testing that my new stringer seems to be laid out correctly.
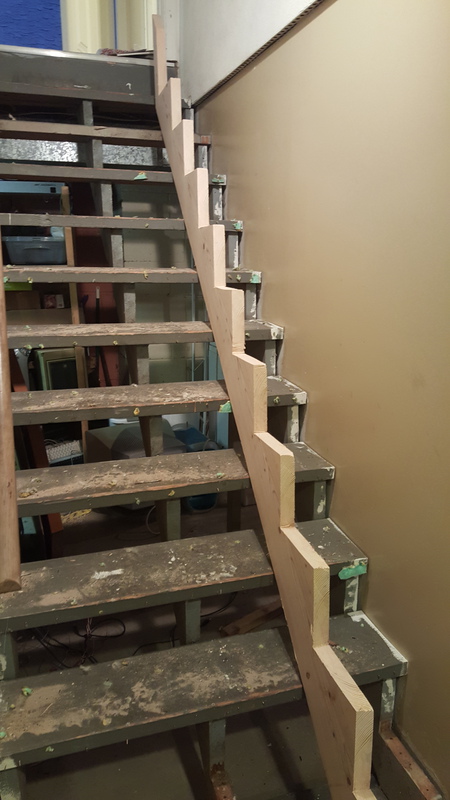
I dropped the old treads onto the new stringers as a temporary measure - I replaced the staircase over the course of a month.

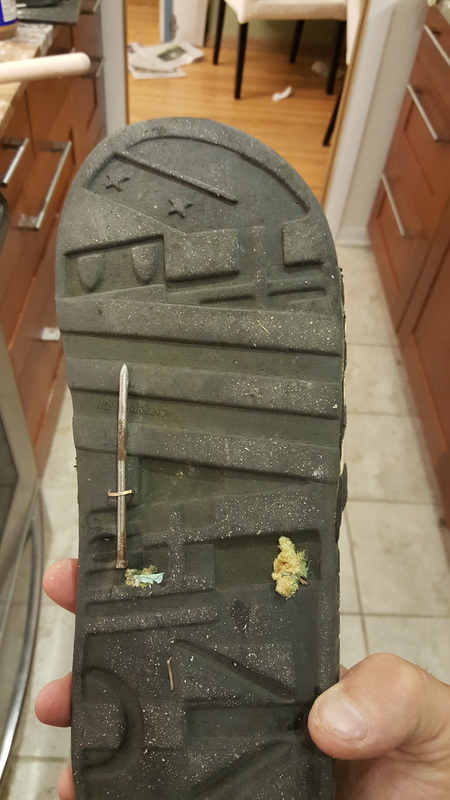
The construction sandals save my feet again.
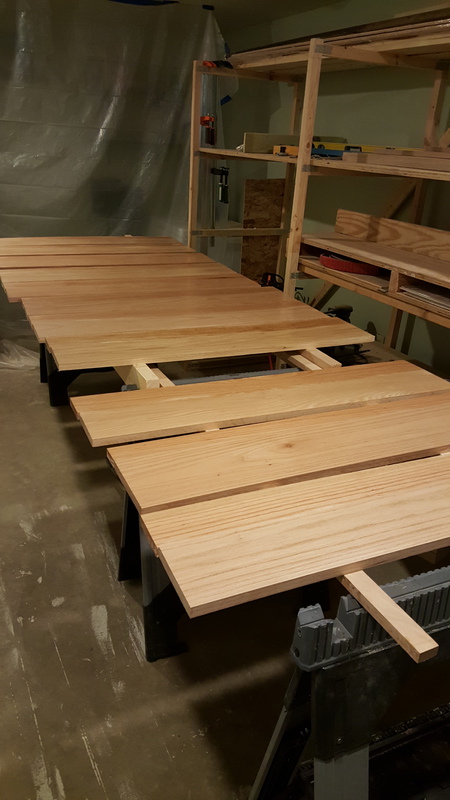
Putting finish on the risers. You’ll notice some look to consist of two boards glued up. I measured once, cut many, and then saw my mistake. I could match the cut off scraps for most of the risers to glue back on, so the mistake is not very noticeable unless you know it is there. Oops.
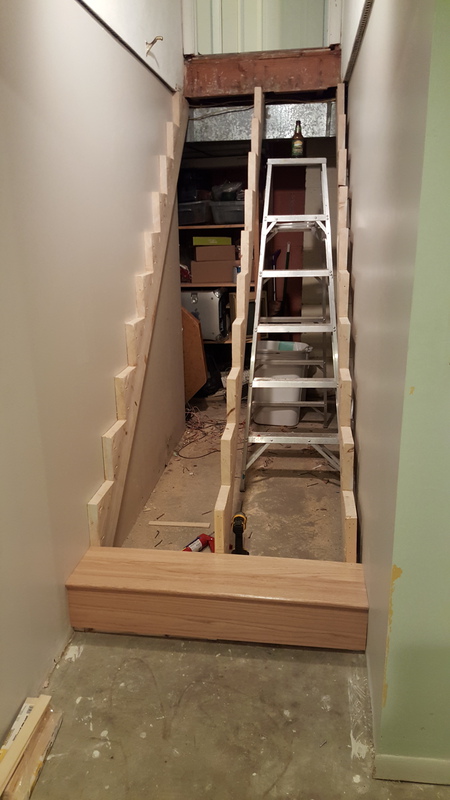
Trying out the first riser and tread. The distance to the first tread is slightly higher, to account for adding a finished floor to the basement.
I made my own treads rather then buy pre-made ones. I liked the look of 3/4” treads better then the bulkier pre-made ones. Making the tread involved making a dado on the bottom - to sit tight over the previous riser, and rounding over the front edge with a router. Making my own treads was also a cheaper option, at the expense of fabrication time 1.
I glued each tread and riser to the stringer, as well as to the next lower tread or riser. The dado on the underside of the tread locks onto the riser below and ensures there is no visible gap. I then used pocket screws through the stringers and the risers to secure everything in place.
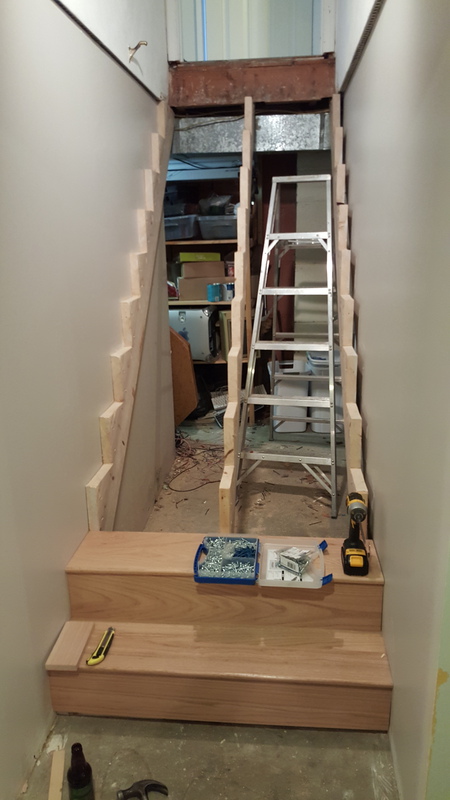
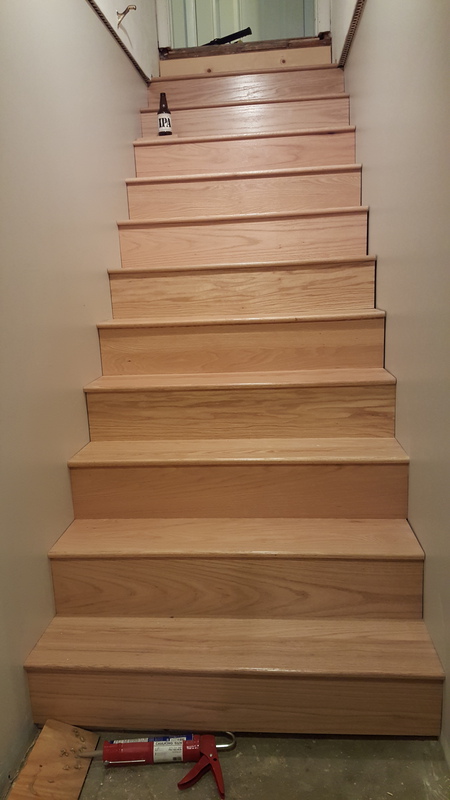
The process like most construction tasks requires lots of glue, screws, beer and patience.

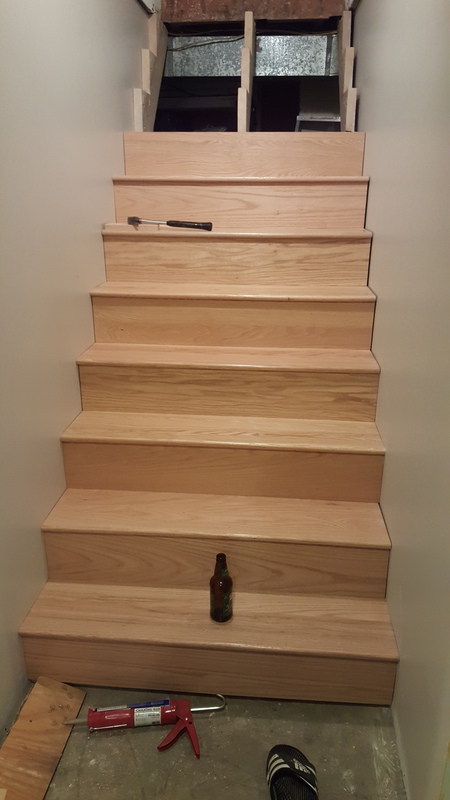
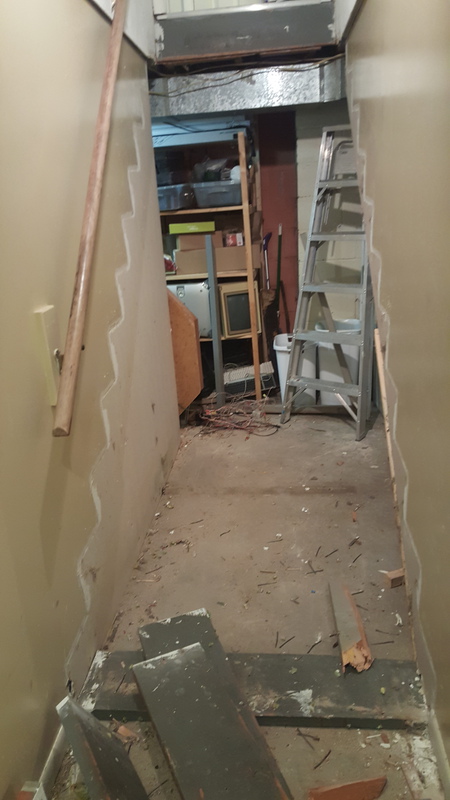
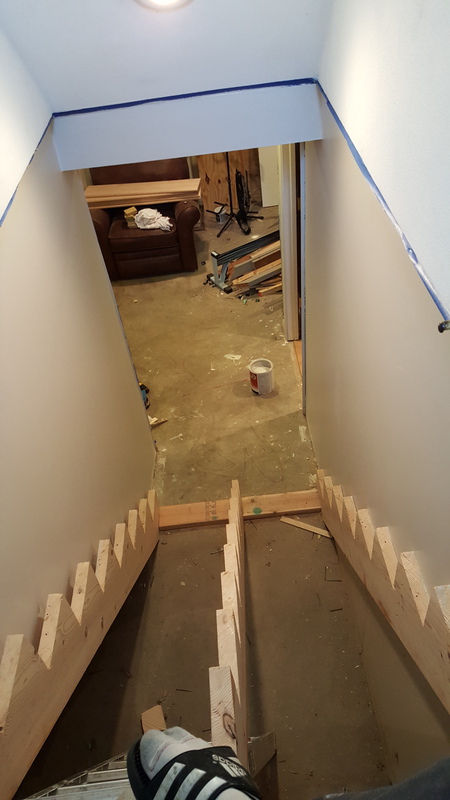
You’ll notice there is a gap to the wall on the right side. This wall is a partition wall that isn’t really anchored at the moment - I left it loose until I had all the treads in, then I could attach it to the stringer to tighten up that gap.
Or at least that was the theory… there is still some gap because the wall is not completely flat. This is why skirt boards exist! If I did it again I would add a skirt board - this could better conform to the wall, and would be easy to caulk where there are any gaps.
Just the top tread remaining! This one was the trickiest - it needed I think 3 different heights on the bottom for the different floor heights, plus notches in the side to get under/around the door jamb.

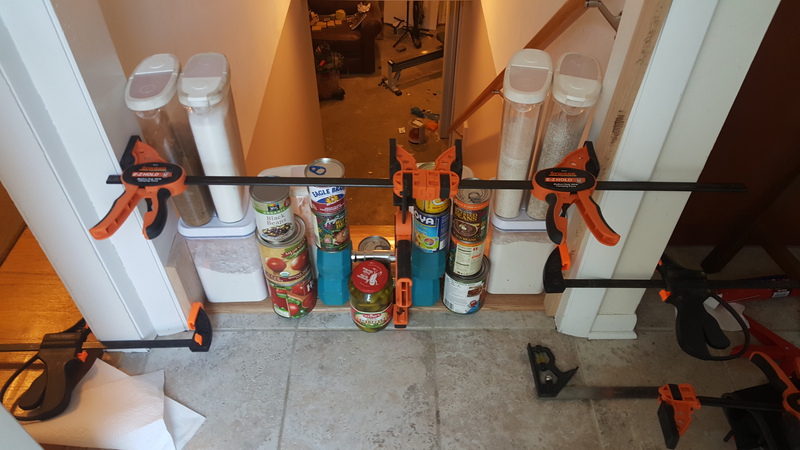
I did not want to face nail this tread, since I had not left any exposed fasteners on the remainder of the staircase. I did the best I could to apply pressure while the construction adhesive set 2.