
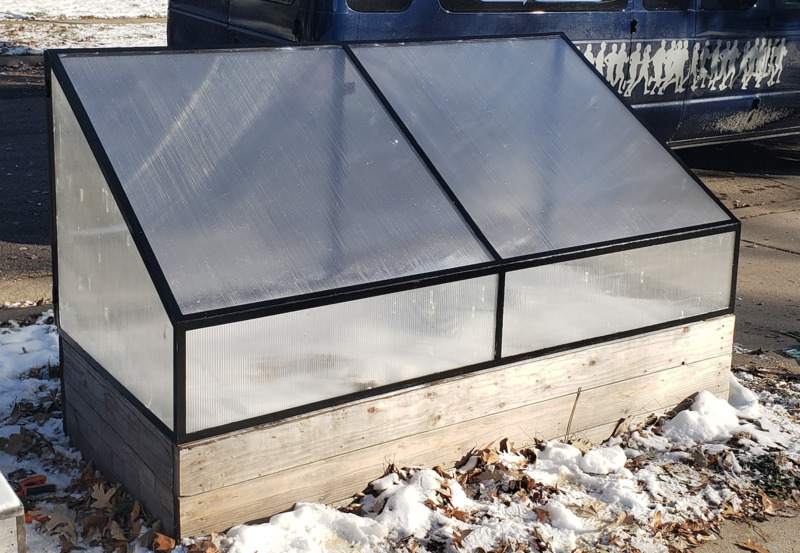
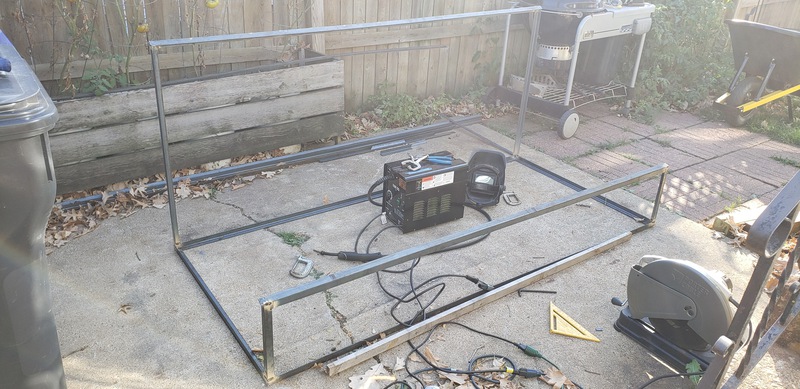
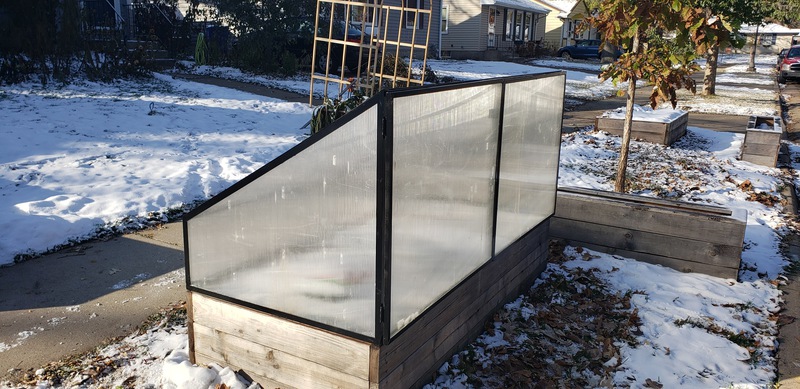
A cold frame for one of our raised beds. I’d made a cold frame in the past using 2x material and plastic greenhouse panels, but I wanted to make a new one that was lighter and thus easier to install and remove, and more attractive.
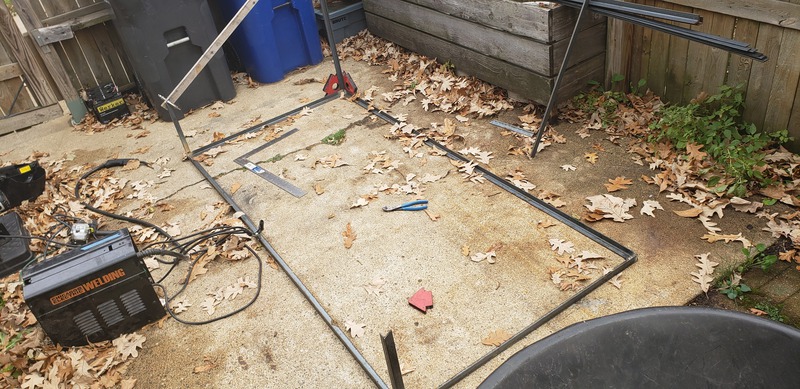
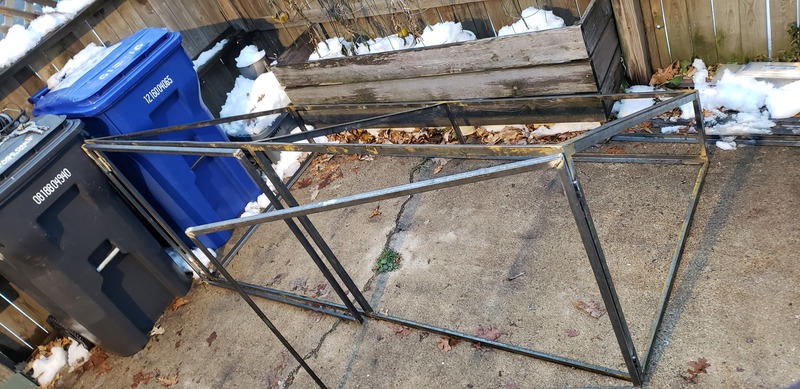
I made the frame out of 1” angle iron. I set the south facing angle at 30°, which seems to be the average sun angle in my latitude, in the winter months.
Cutting the 30° angles perfectly with my chop saw did not work the best, but I could eyeball corrections with an angle grinder good enough.
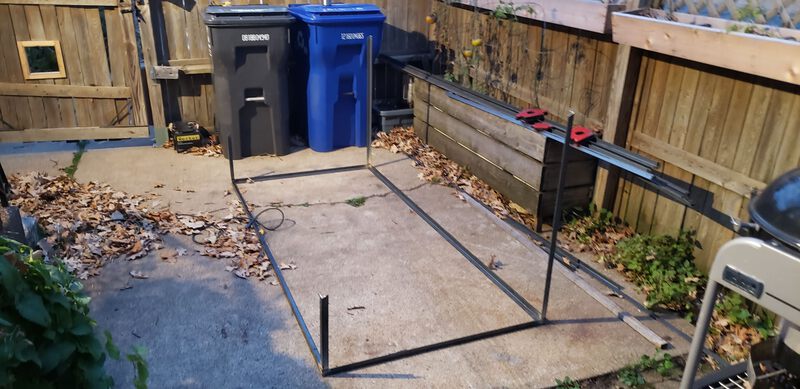
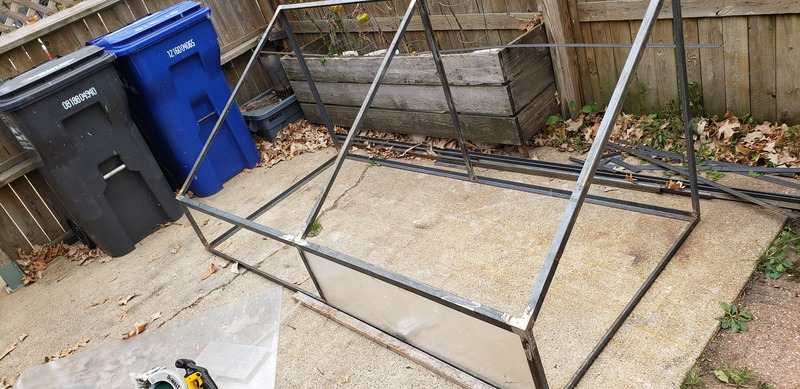
Testing the fit on the bed before I get too far along.
Adding the horizontal metal bar. Since this was not a 90 degree angle between the angled face and vertical faces, I could not use angle iron here, this complicated things.
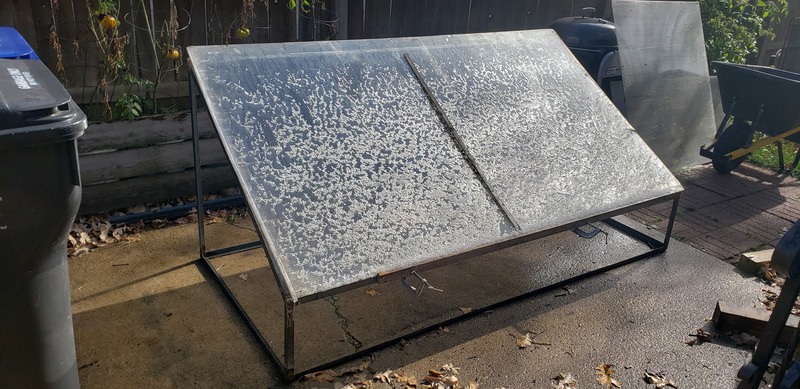
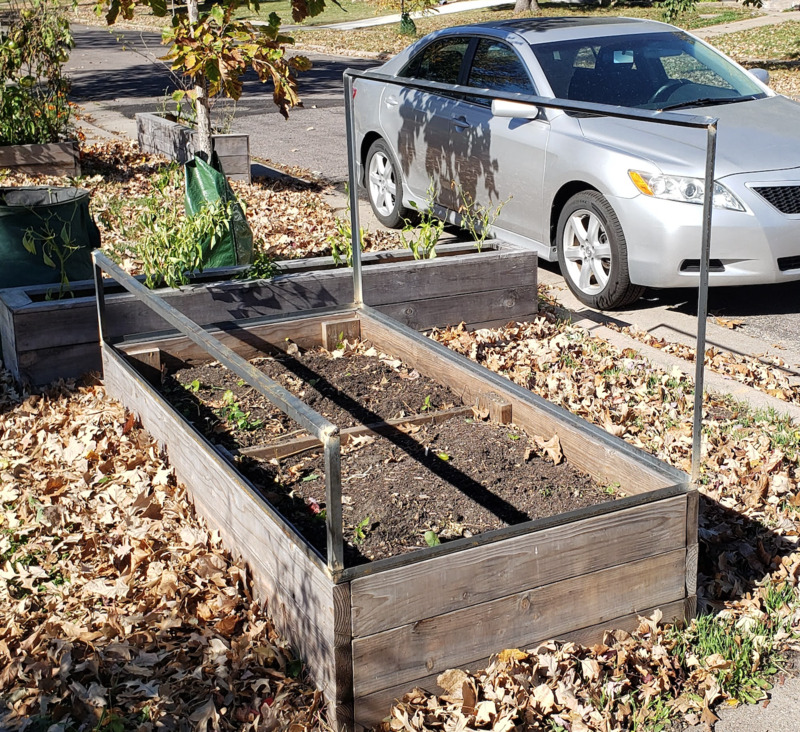
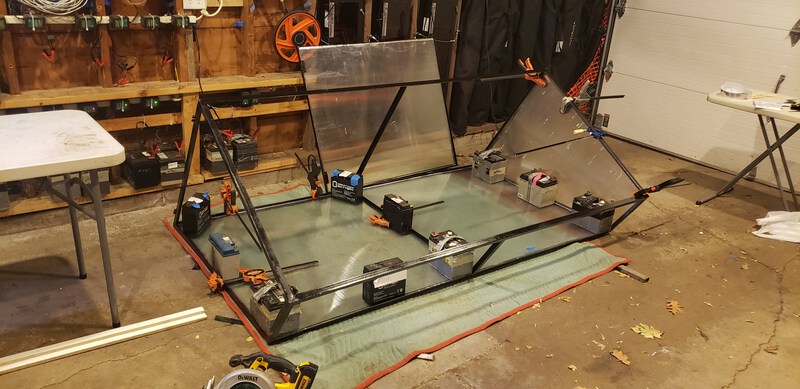
Checking the fit of a the panels I had leftover from previous projects.
I decided to add a center divider after seeing the panel in place, more support was clearly needed.
Frame flipped upside down so I could test the fit as I cut the polycarbonate panels to size.
I made metal doors for the back and welded on hinges. This did not go the best - the doors are not perfectly square, and it was too tight of a fit to align things much differently. I did cut off and reinstall one set of hinges which helped a little.
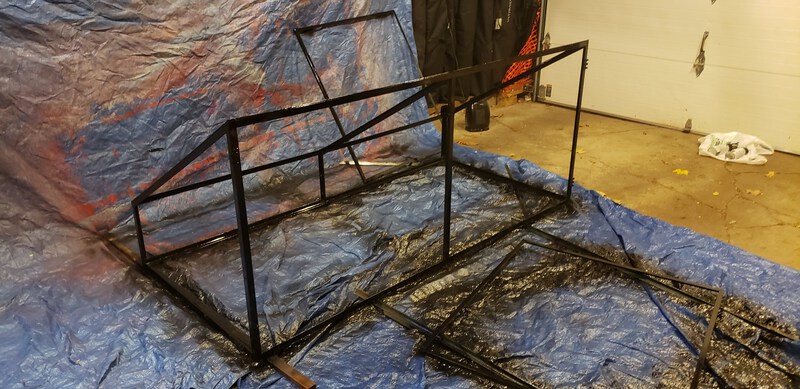
After a lot of grinding the welds cleaned up pretty nicely! I brought the cold frame into a garage to paint because I could heat the space as it was now too cold outside. It was unfortunately very fumey, even with a painting respirator on.
After the paint dried, I epoxied the plastic panels onto the inside of the frame. This was tricky to do - applying the epoxy quickly enough, and to the portions where metal met plastic, but without it spilling out onto the visible surfaces.
I decided to glue the panels in because I wanted to hide the panel attachment points - no visible hardware on the outside. It would have been easier with a stud welder - to install studs along the inside perimeter and bolt the panels on. I might have to invest in one should I choose to make more of these.
The epoxy job did not fill me with confidence, as there were some weak spots and I wasn’t very confident of how well the top panel would take a snow load. I ended up doing a couple of things that I hope tighten it up - superglue at the weak spots, silicone the outside seams (to keep airflow and water freeze/thaw out), and a polyurethane construction adhesive along all the inside seams.
The panels feel much more solid after these steps, but only time will tell if they make it through the winter.
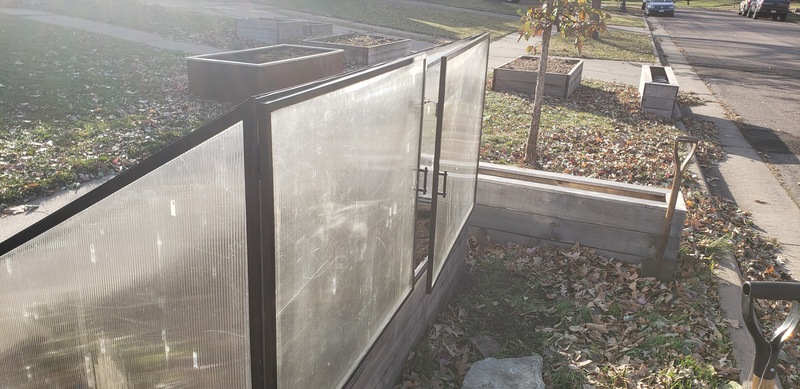
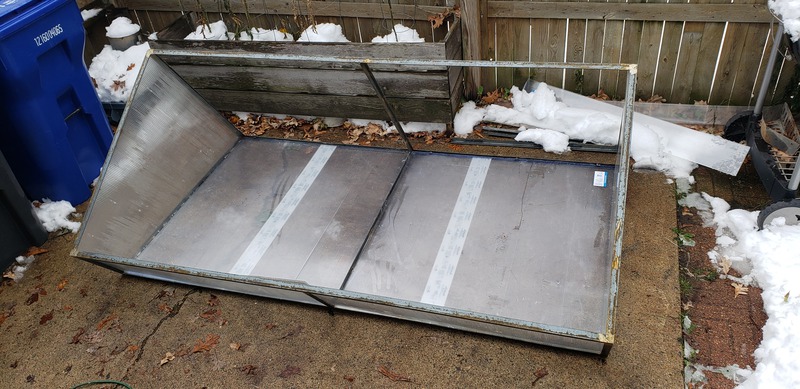
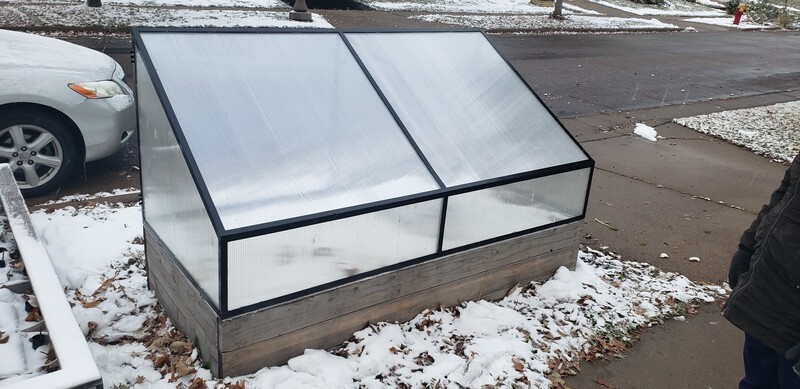
I installed a greenhouse opener arm - it opens the door when the inside temperature reaches about 75°, and then closes it when it cools down again.
I installed the opener arm one door with magnets, so it is easy to detach if I want to open the door fully. I also installed magents on the frame where the doors close to hold them shut.
After being installed for about a month, it appears to be working fairly well. It warms up really well during the day and self regulates temperature. It is not so well insulated though that I think it will make it deep into the winter - the temperature really drops at night.