

I’ve been building many staircases on my friends property, to make a trail system out of the bottom of a ravine to the field at the top.
I’ve been experimenting with different designs for the staircases with different trade offs in construction time, cost, offsite prep, ease of use, etc. I started in 2015 or so and still have some work remaining as of fall 2020.
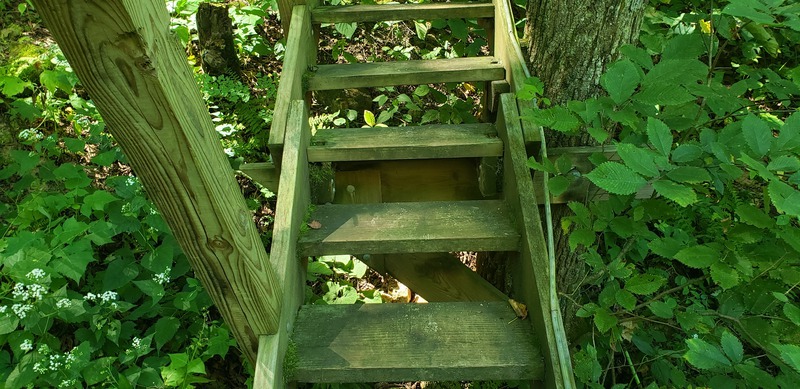
This is the first staircase I built - it starts at the end of a bridge across the ravine, and is anchored to two larger trees. It is built up of 3 sections of staircase attached to each other with a galvanized pipe.
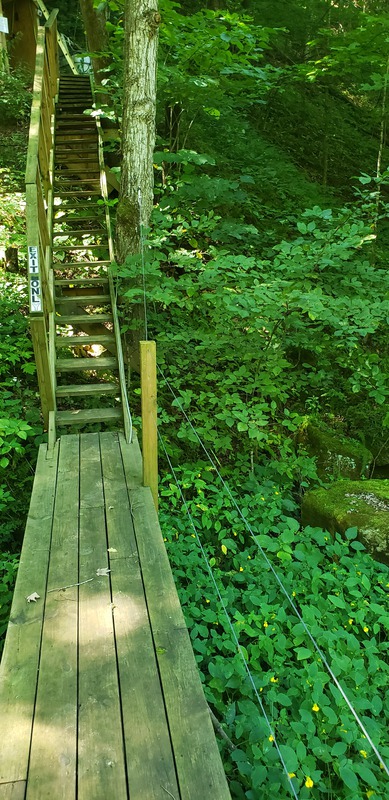
You can see the support bolted to the tree for this staircase.
In the middle of the photo two sections of staircase join with a pipe holding them together.
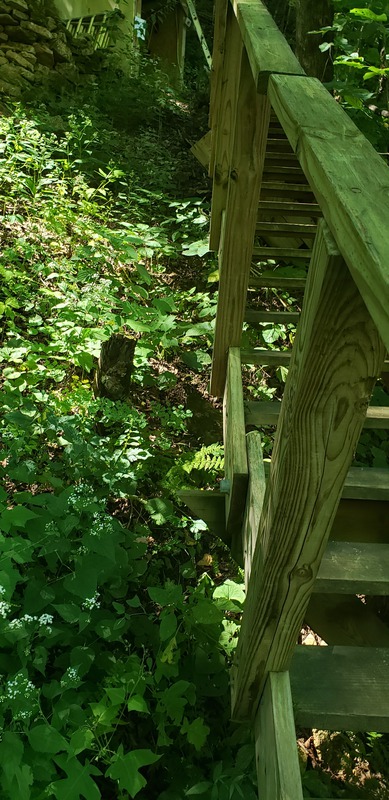
The stairs are lag bolted in from the outside with 1/4” hardware.
Here is the 2nd set of staircases I built. These are similar to the previous set, but not connected to each other, and anchored via rebar.
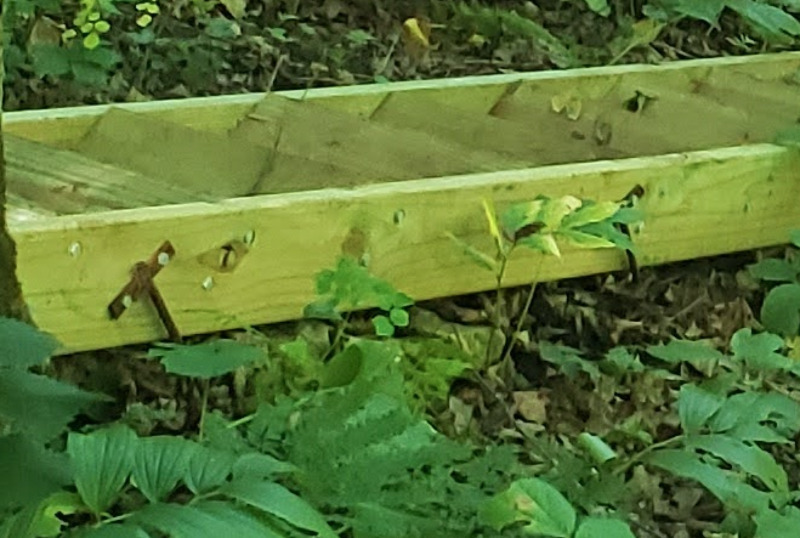
I welded some flat stock to the end of a piece of rebar, and drilled out two holes for mounting bolts. Then onsite I can hammer the rebar anchor in and screw it to the joists with small lag screws.
Between the rebar driven into the ground, and the friction of the joists resting against the ground, there is no movement in the staircase. I used 3-6 anchors per staircase, varying based on ground conditions.
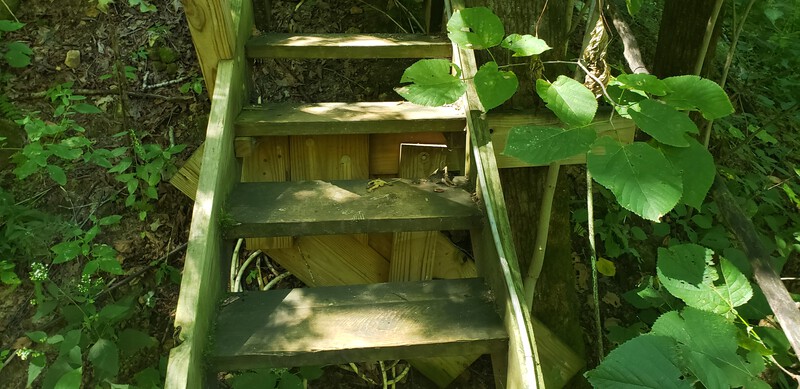
Here is a new design I tried - putting boards in vertically and leveling the ground to make a flat step. This did not work well, it is not that level and moving the earth is hard work! I installed boards over the top of the soil in some places which helps level the step out… but isn’t great.
For my next design, I cut dado’s in the board for the treads with a router. I made a jig that I could follow with a router to cut out a 1.5” wide dado at a set angle in the stringer/joist.
This made for more evenly laid out stairs vs. marking the angle and installing the steps freehand. But it also made for a lot more prep work to route out the slots.
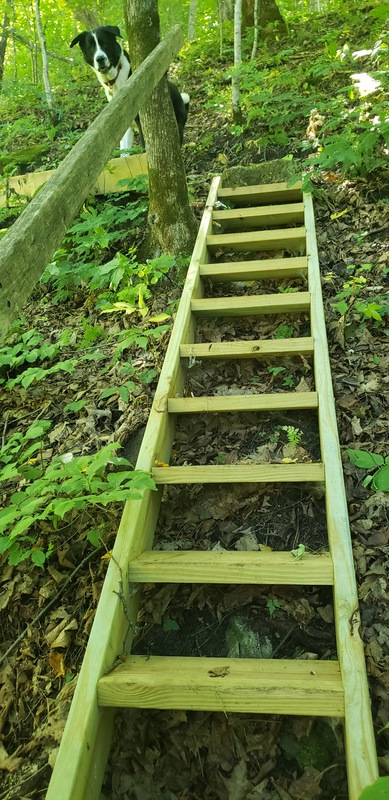
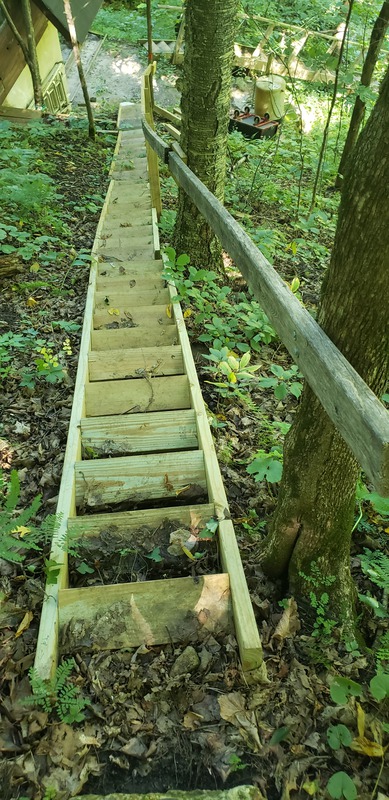
Here are my final two designs, to date.
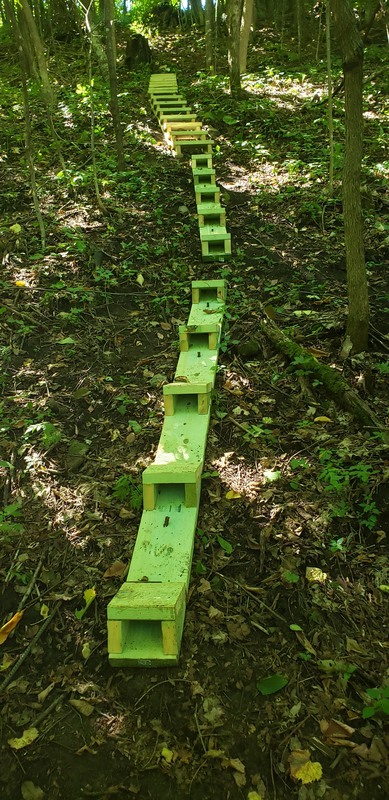
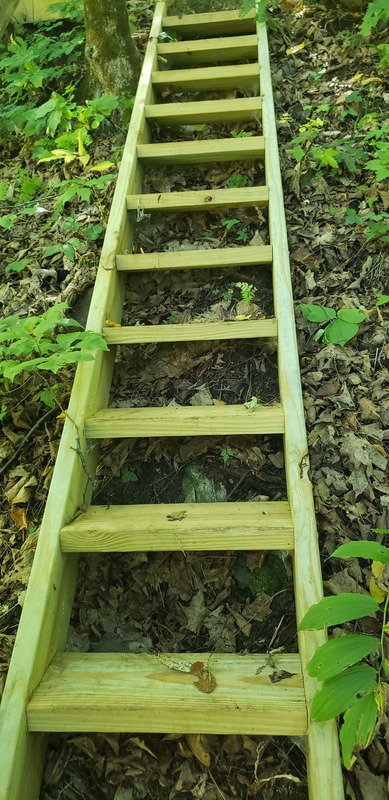
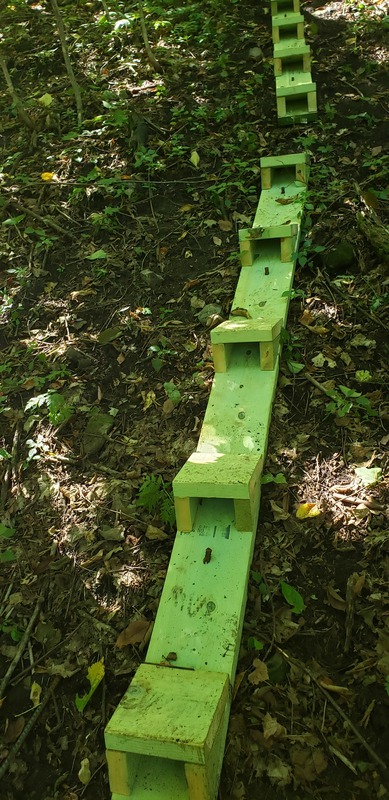
These steps I cut the step and support blocks out on my miter saw and table saw, and glued and nailed them together. I anchored the steps to the hill with rebar driven through predrilled holes. This anchoring method saved me the effort of welding up the metal anchors like I did for previous staircases.
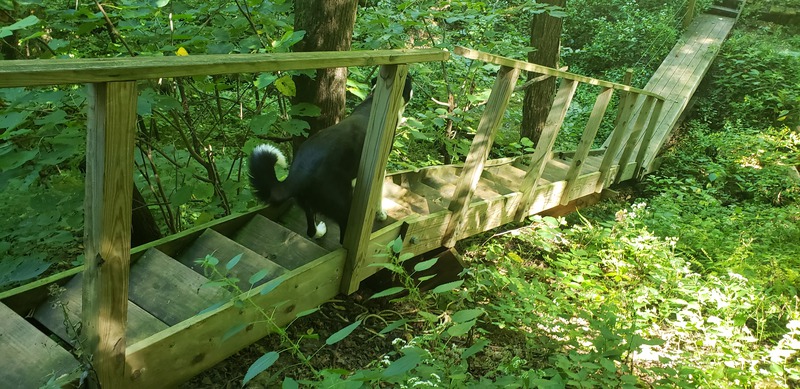
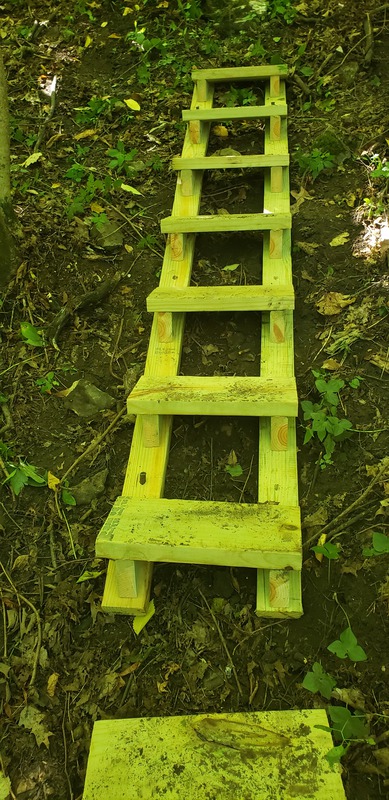
I’d planned to install these narrow staircases side by side and offset - like a carnival funhouse. But they did not feel right like that, so I set them up single file instead. They are surprisingly not bad for going uphill on. But going downhill on them is uncomfortable.
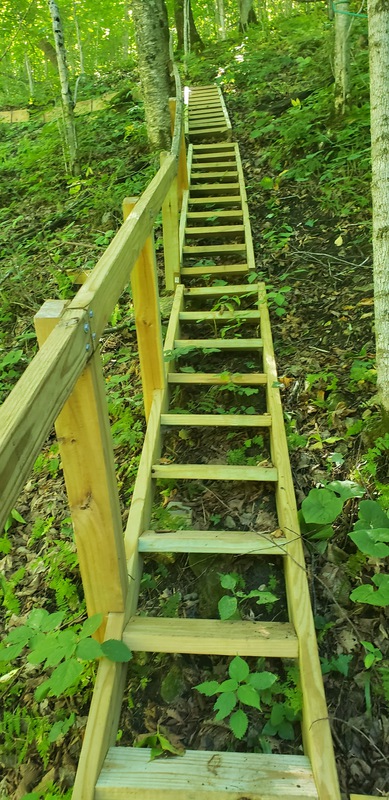
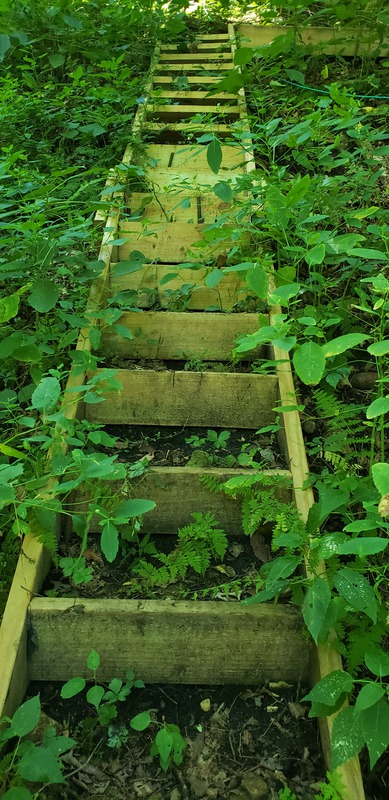
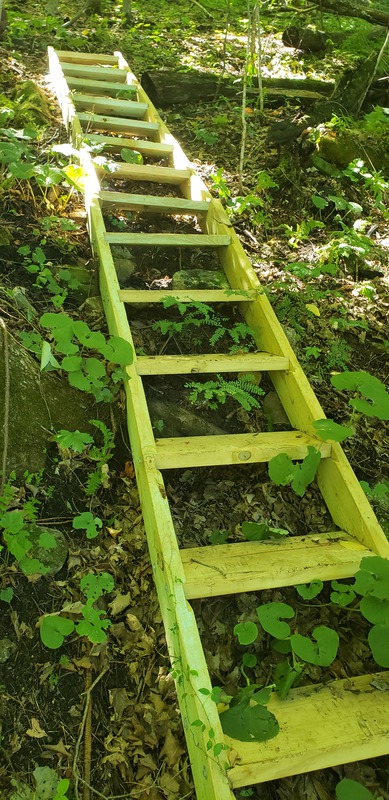
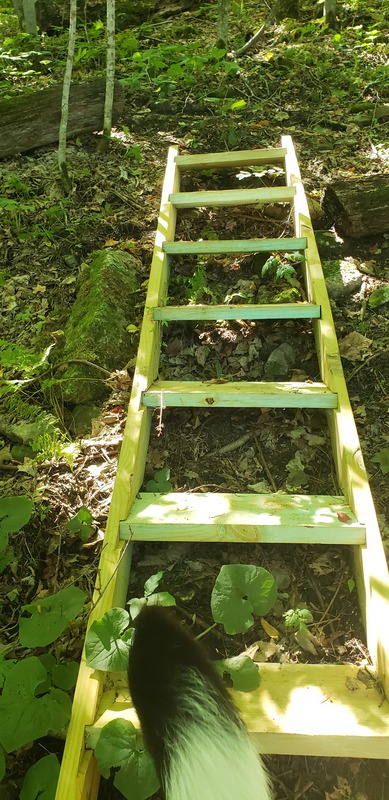
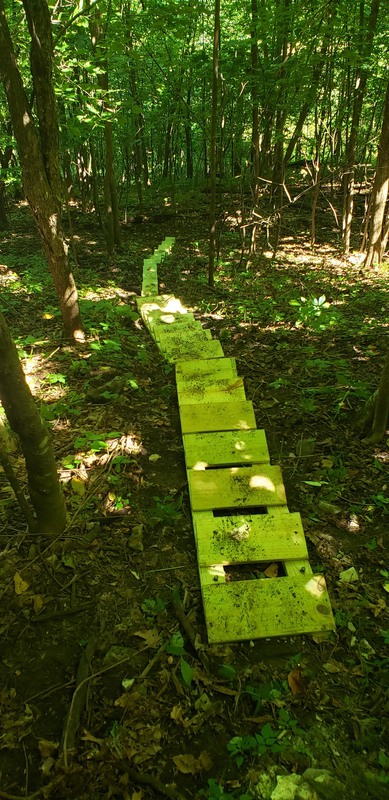
My final design is like the previous narrow ones - but with a wider tread, and a 2x4 base on either end instead of one very wide board. I also anchored these with rebar stakes.
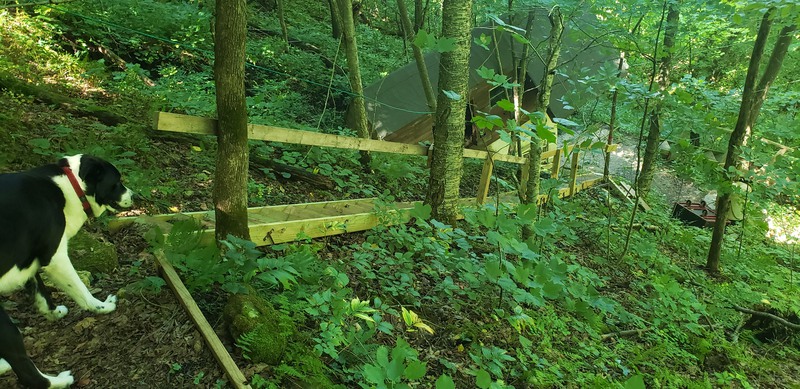
The progress so far. I have about 10 more 8’ long staircases to build before making it to the top of the hill.
Video tour.