
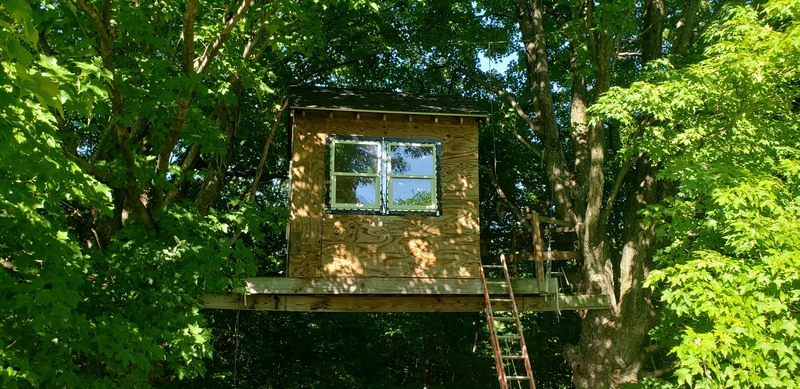
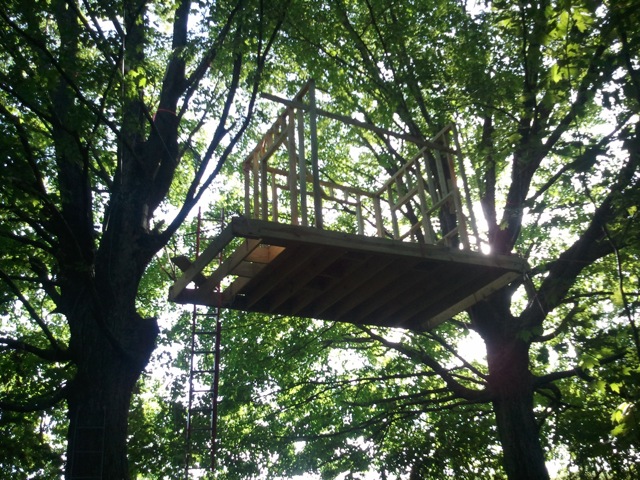
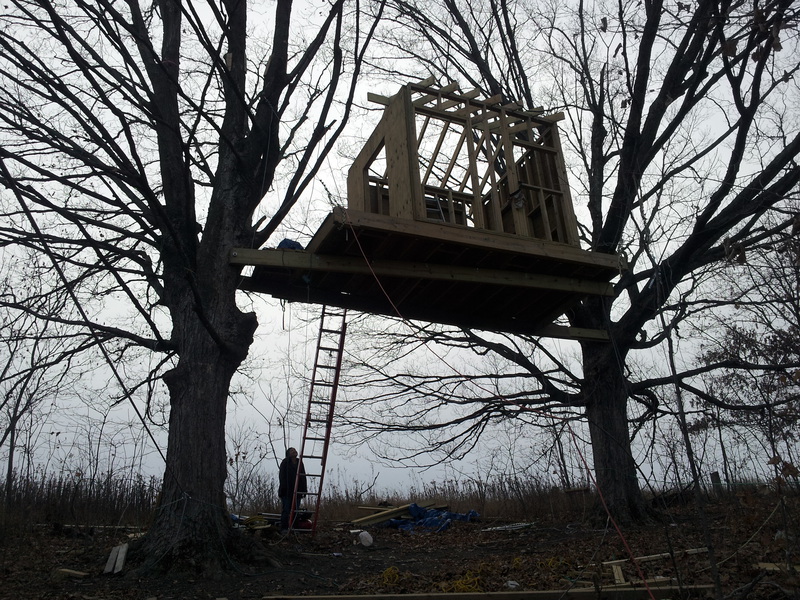
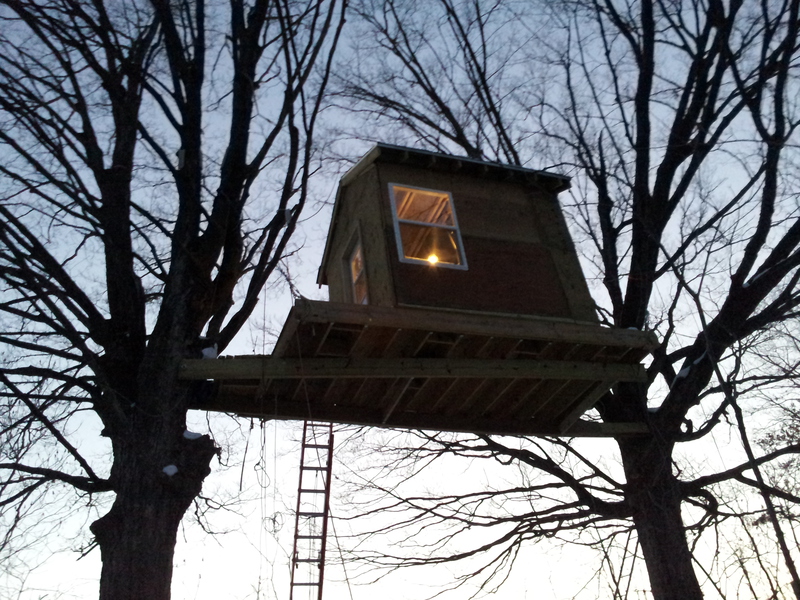
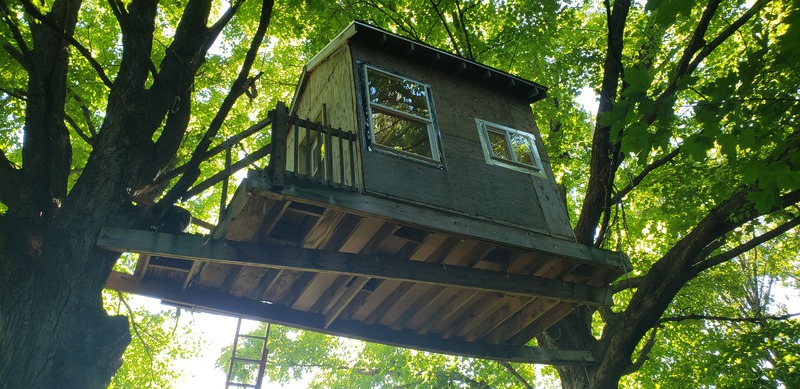
A treehouse suspended between two large trees.
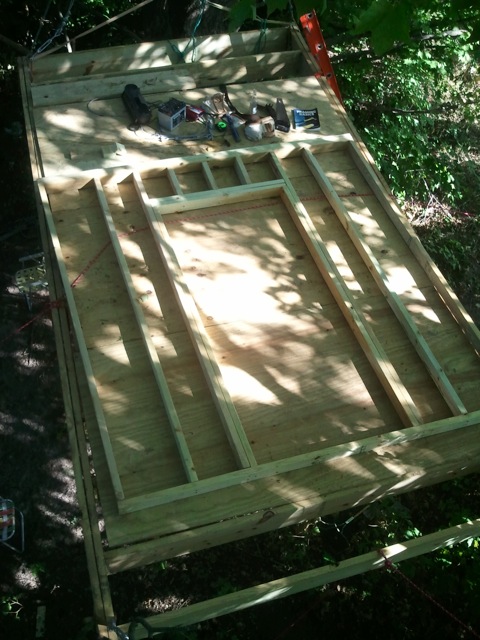
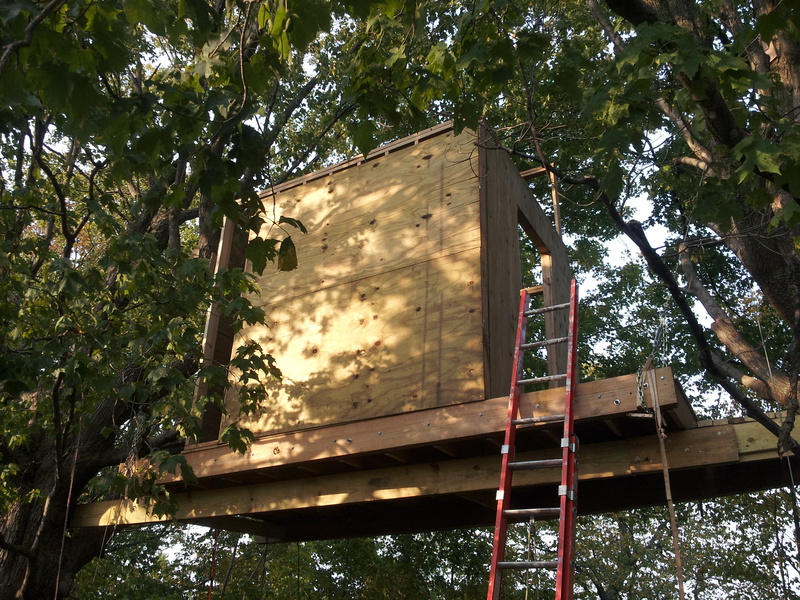
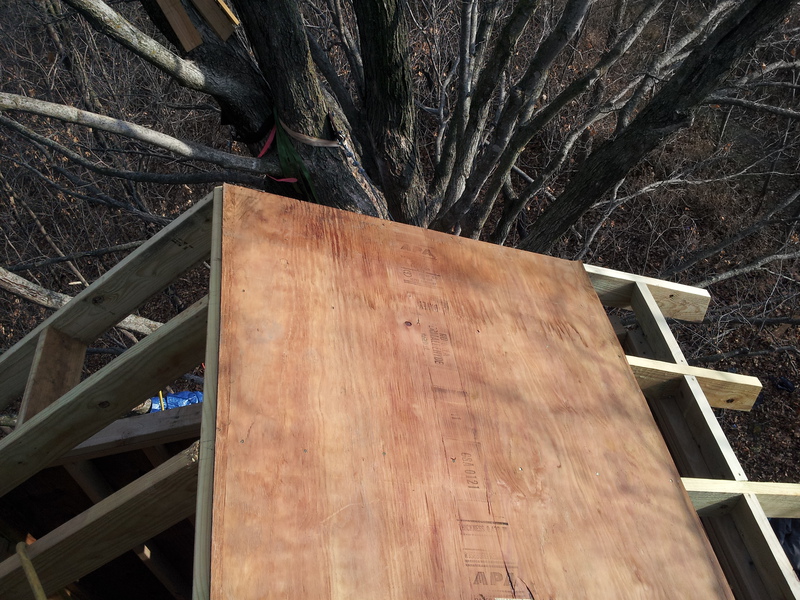
I set 4 anchors in two trees that are spaced about 25’ apart. I then built a deck on the ground and put down a 3/4” treated plywood floor. The plywood was very wet when I bought it, and hauling it up the hill from the road on the hottest day of summer just about killed us.
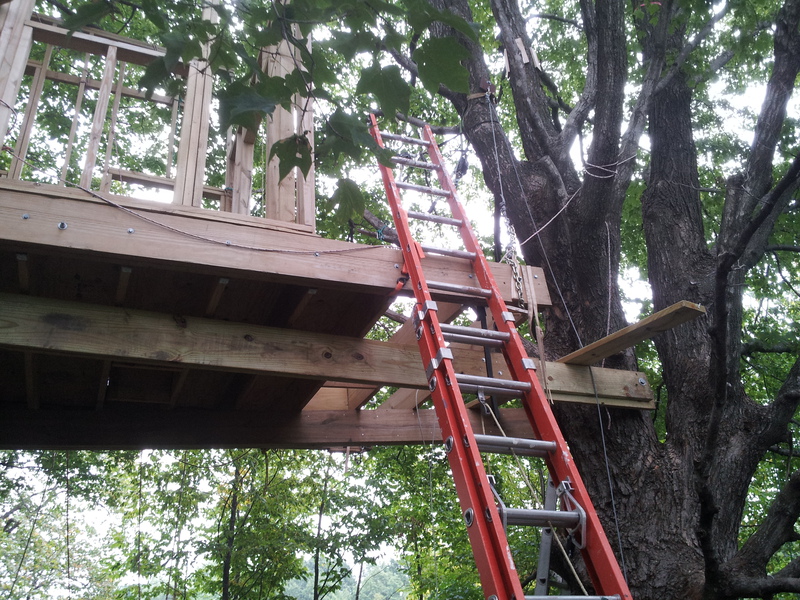
I used 5 cable pullers (come-along) to raise the deck. 4 were mounted to each of the corners of the deck and matching anchor in tree, and the 5th was used to swap out with one of the 4 in use when it’s spool filled with cable.

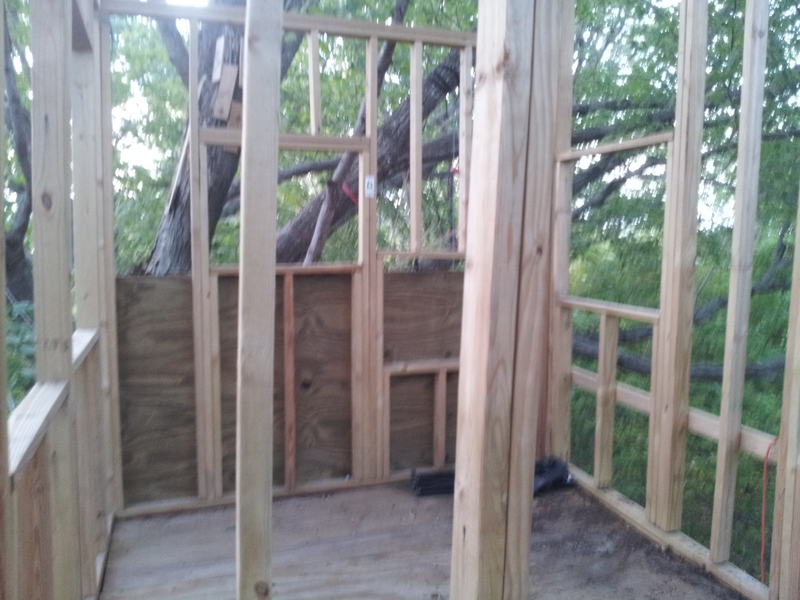
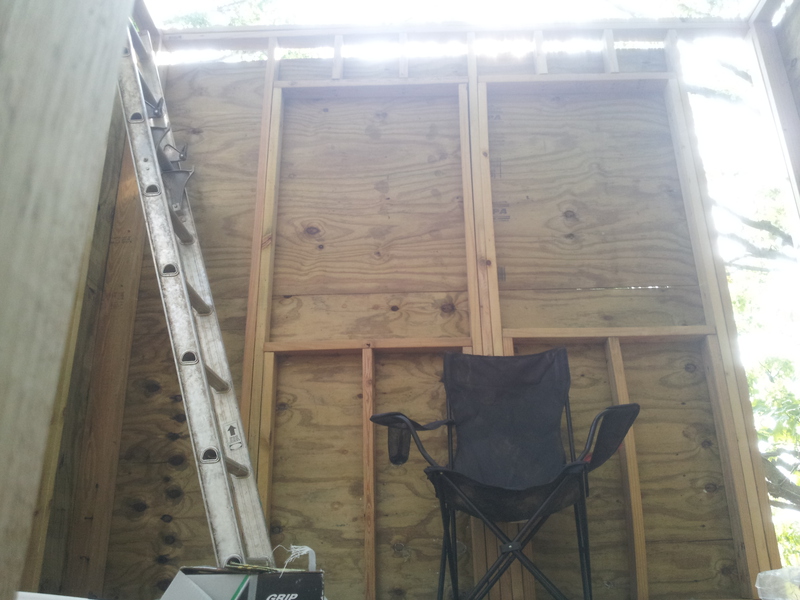
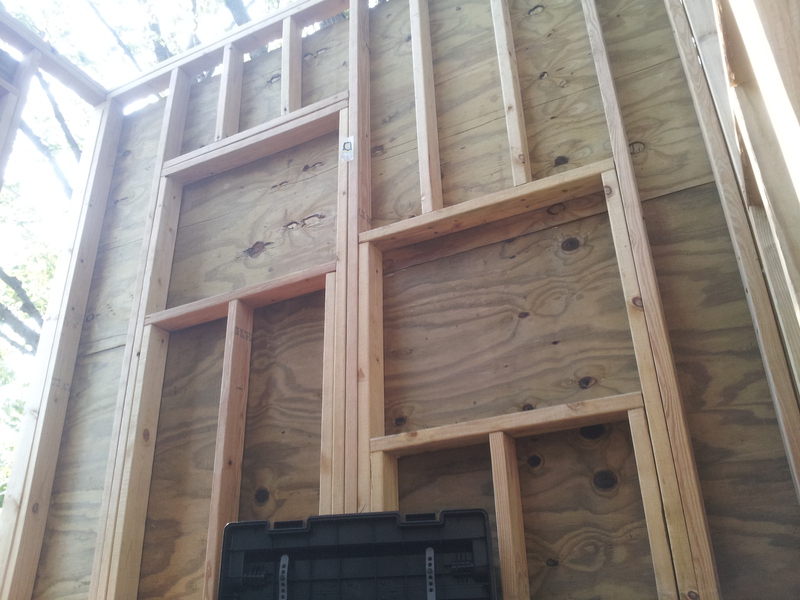
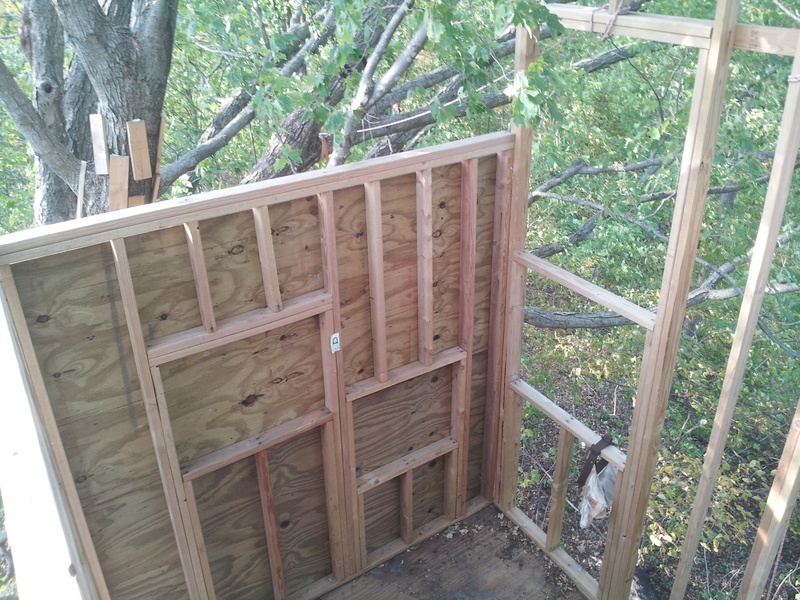
I framed out the walls on the ground and hoisted them up to the deck with ropes.
It may have been easier to frame the walls on the deck and tip them into place, but everything is harder with a 20’ drop off to all sides. If I was doing it again, the first thing I’d do after raising the deck would be installing a safety cable for better fall protection - this would probably not make the whole operation any safer, just increase the tolerance for taking risks near the edge.
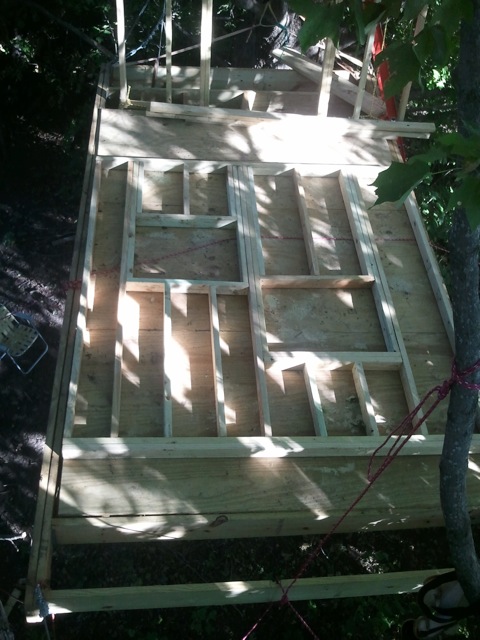
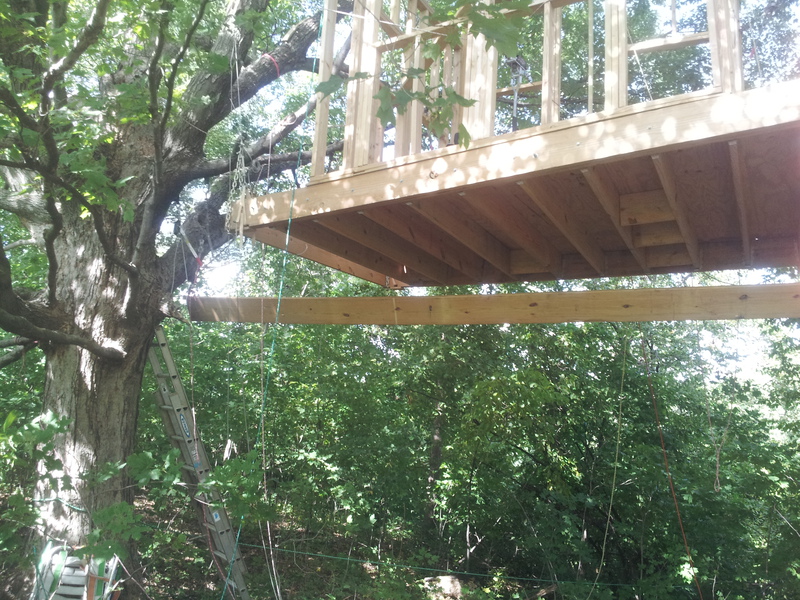
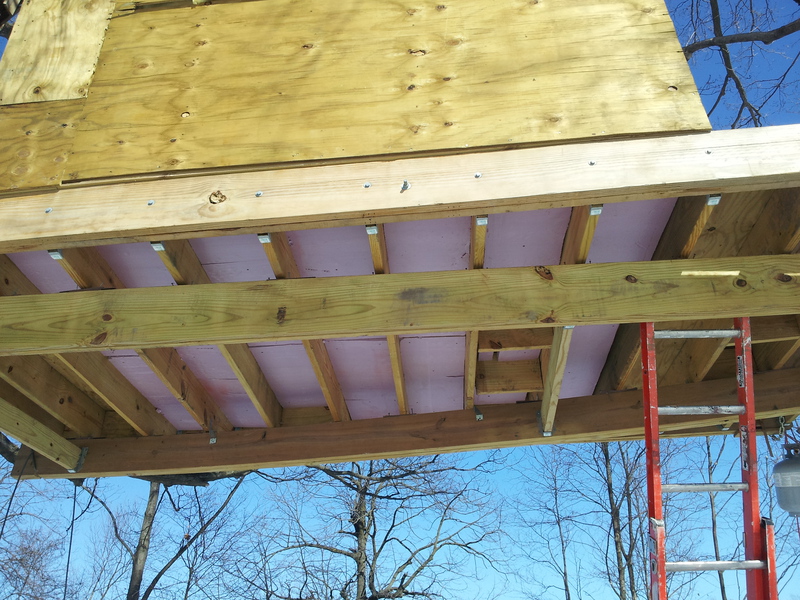
After I framed out the walls and was feeling out the space more, I decided to add additional support beams under the deck. This added strength to the entire structure, and also reduced the sway vs. an entirely cable supported platform, which made it much more comfortable when moving around, in strong wind, etc. There is still some minimal sway, as the support beams are very long and have some flex perpendicular to their length.

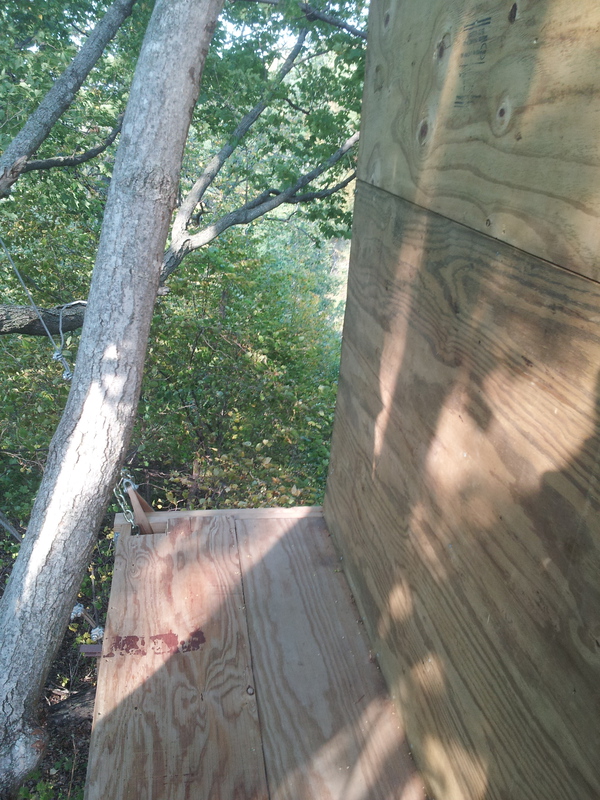
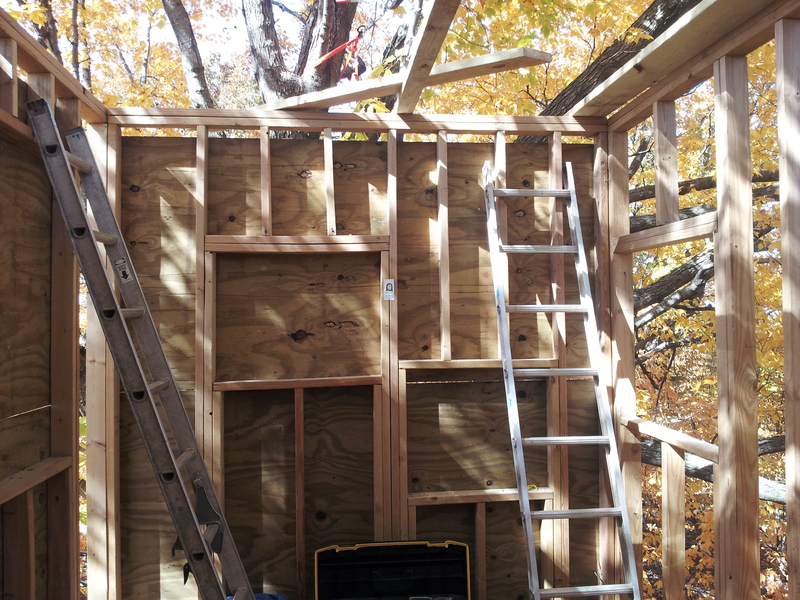
Starting to install the sheathing. Not easy to do for the two longer walls which have no deck to stand on - would have been improved with a fall protection setup.
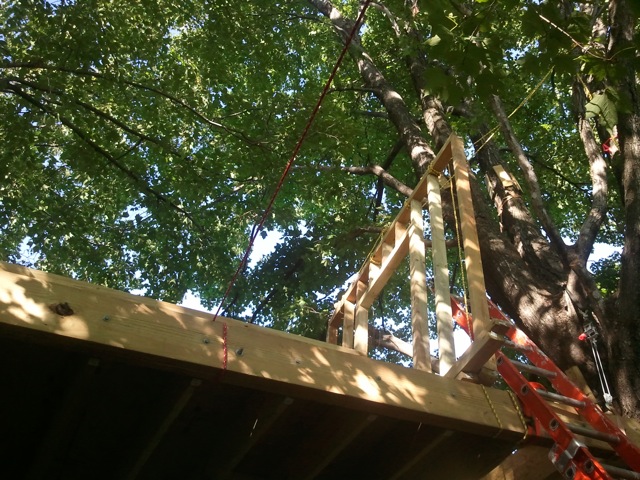
Initially I framed this as a shed roof - much taller on the downhill facing wall. I’m not sure what I was thinking, other then this was my first big structure and I was figuring it out as I went.
It did not make sense to do the roof this way, and for even weighting of the platform it was better to make everything symmetrical. I ended up cutting this wall down to match the height of the opposing wall and built a gable roof.
The wall cut down and preparing for roof rafters.
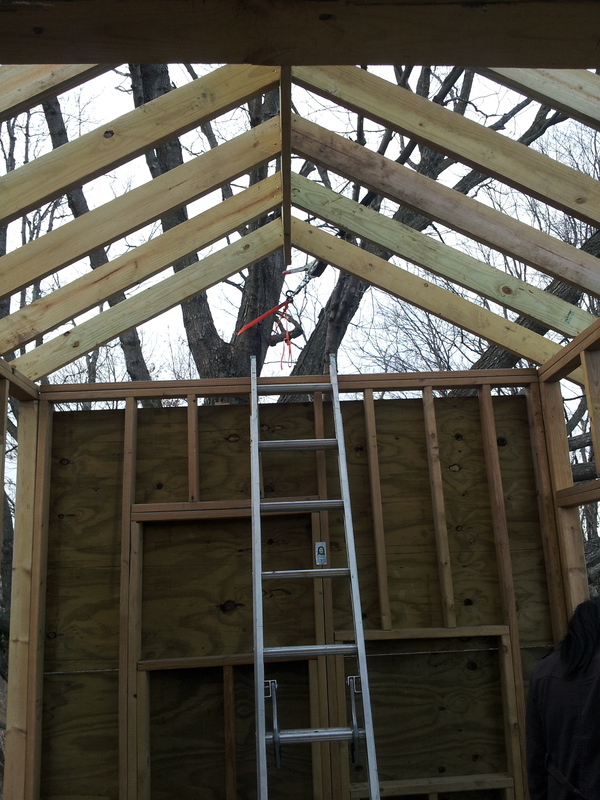

The first roof sheathing board was easy to install. The lower ones were much more of a stretch…
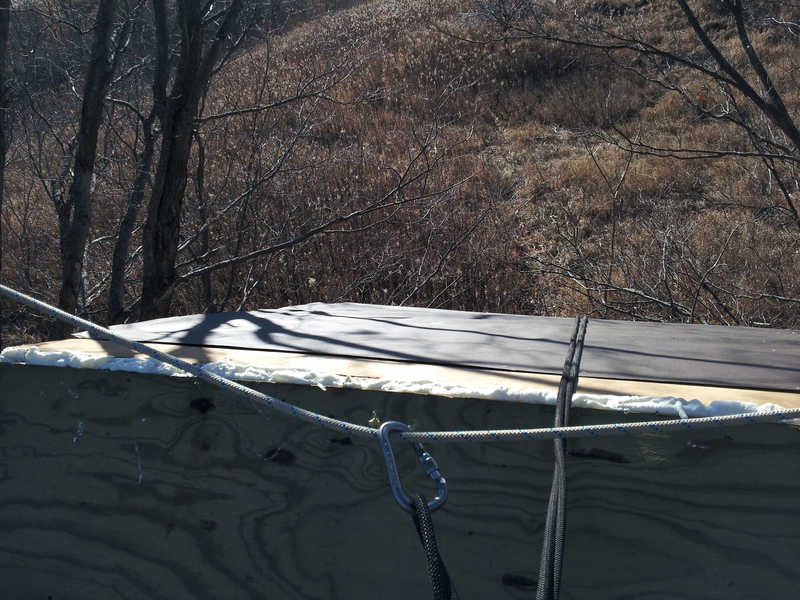
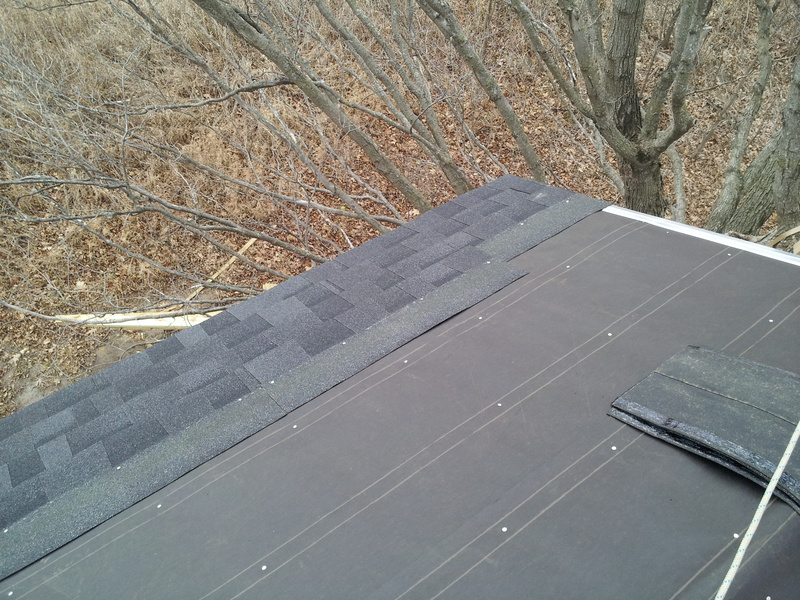
Laying down roofing felt. I finally broke down and setup a line I could clip into for fall protection, something I could have done much earlier on…
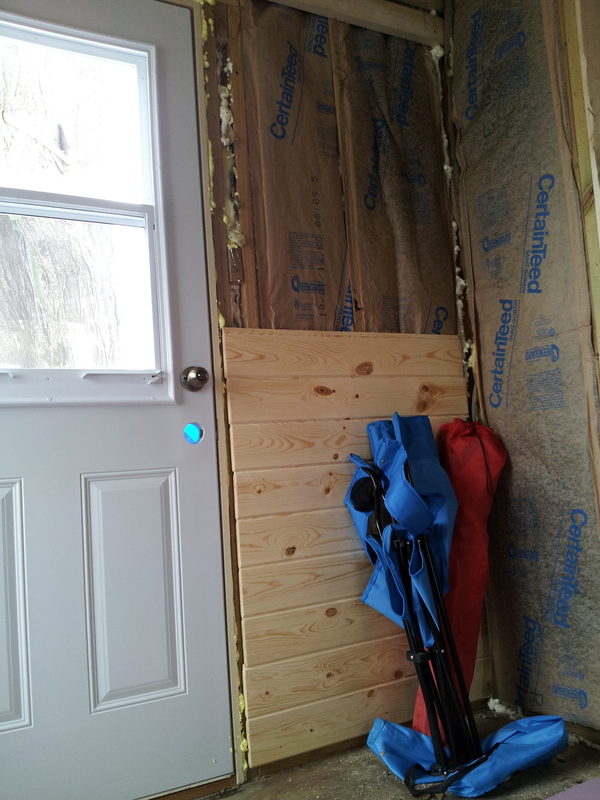
Door installed.
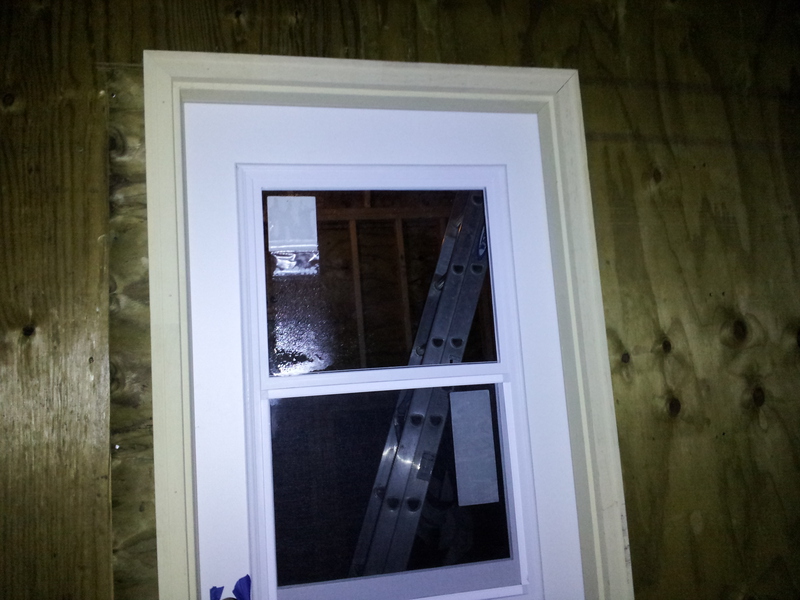
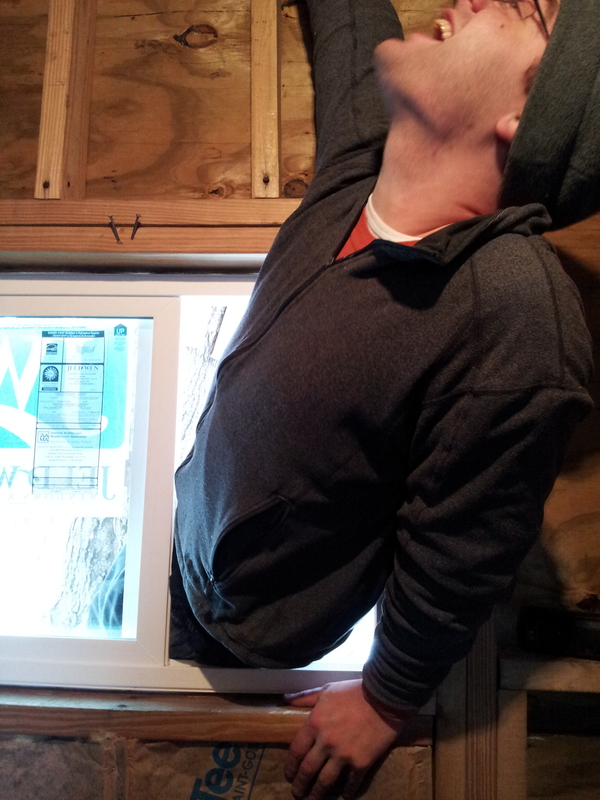
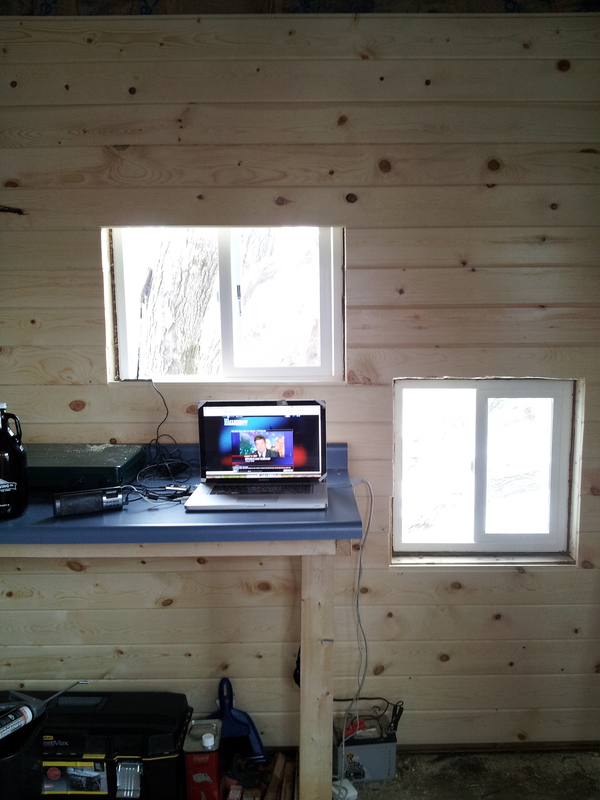
Window installed on opposite wall - this is the only way to access the small deck on the other side without going down the ladder and climbing the tree.
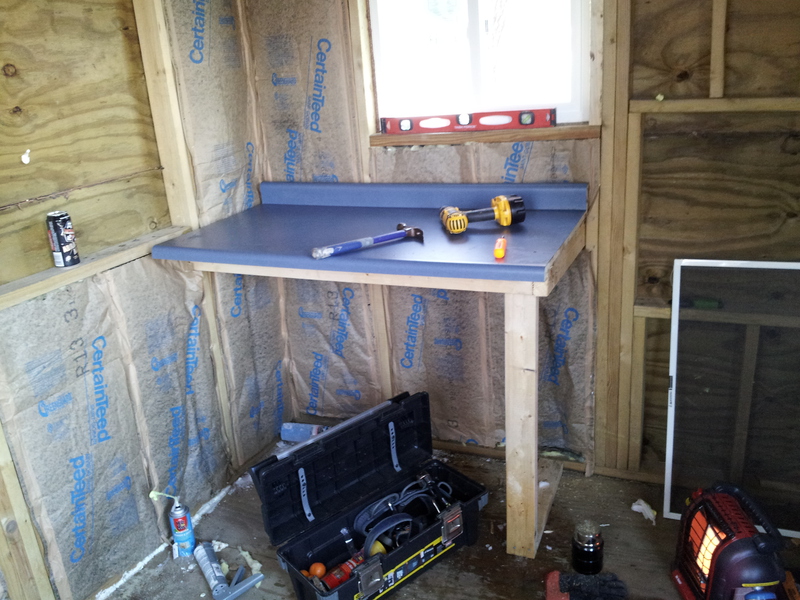
Small counter for cooking, laptop, etc. installed.
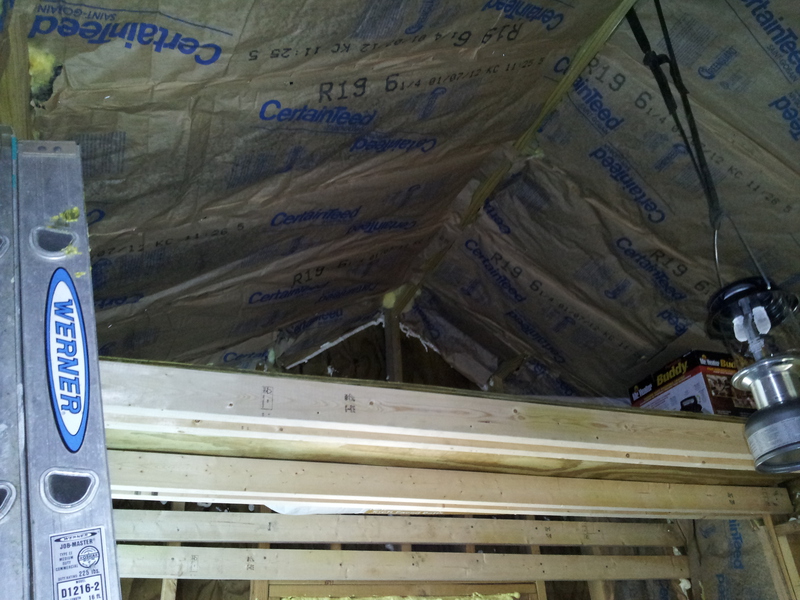
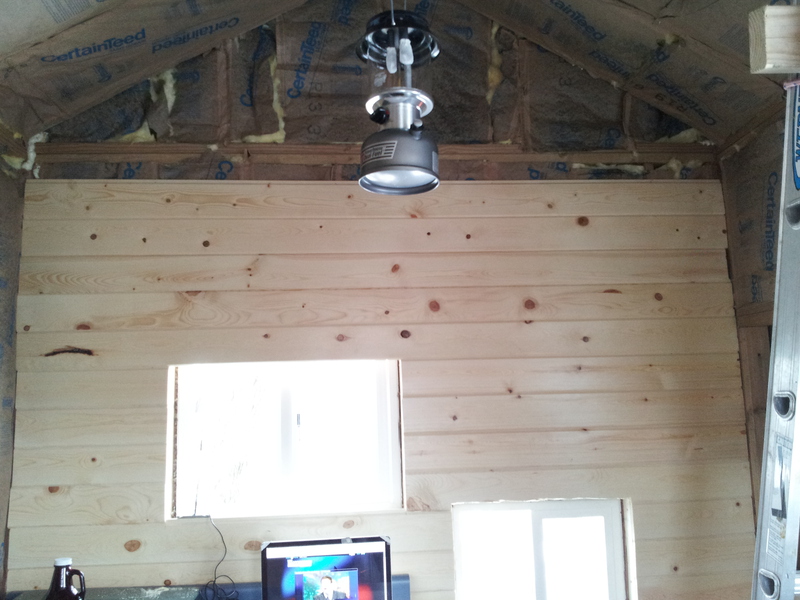
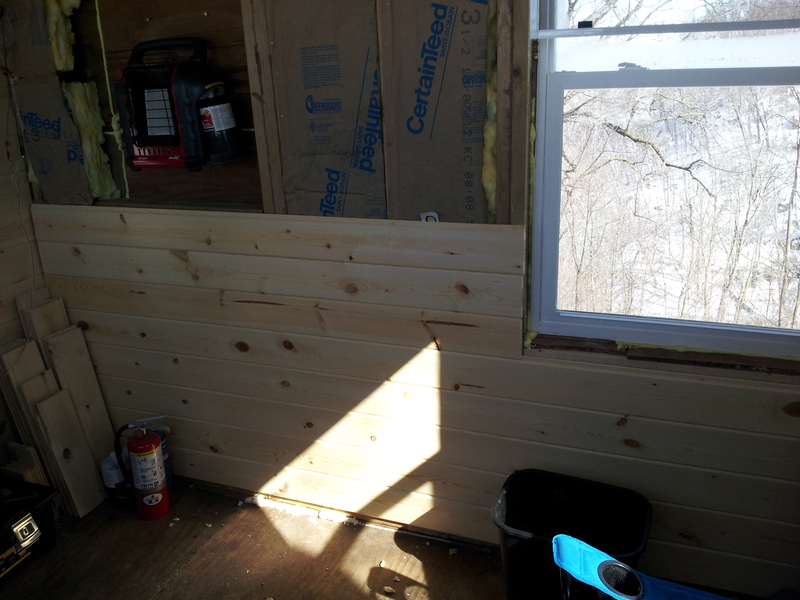
Insulation and sleeping loft going in.
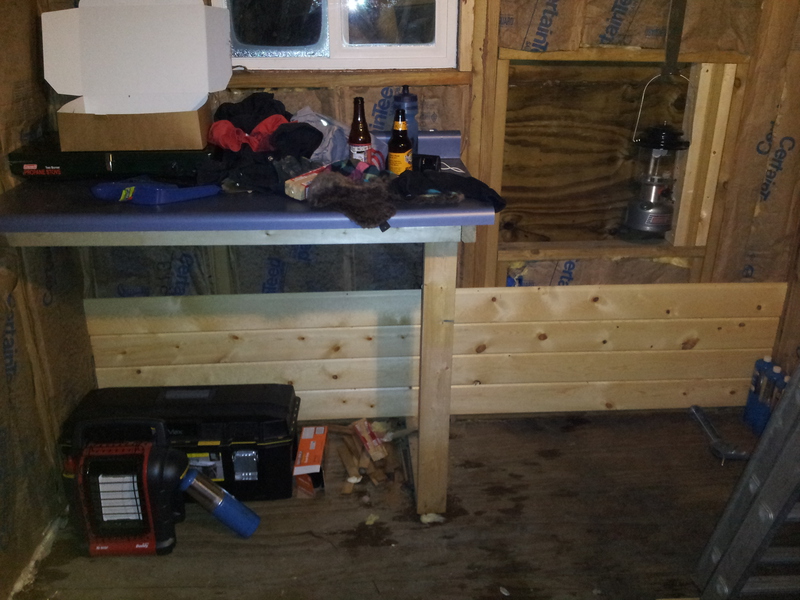
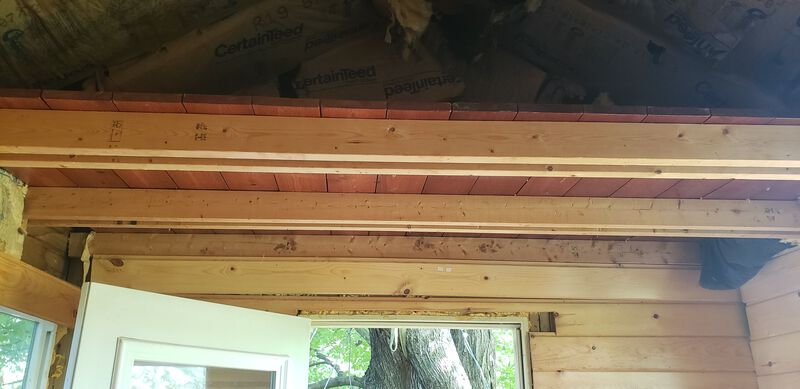
Starting on tongue and groove carsiding install.
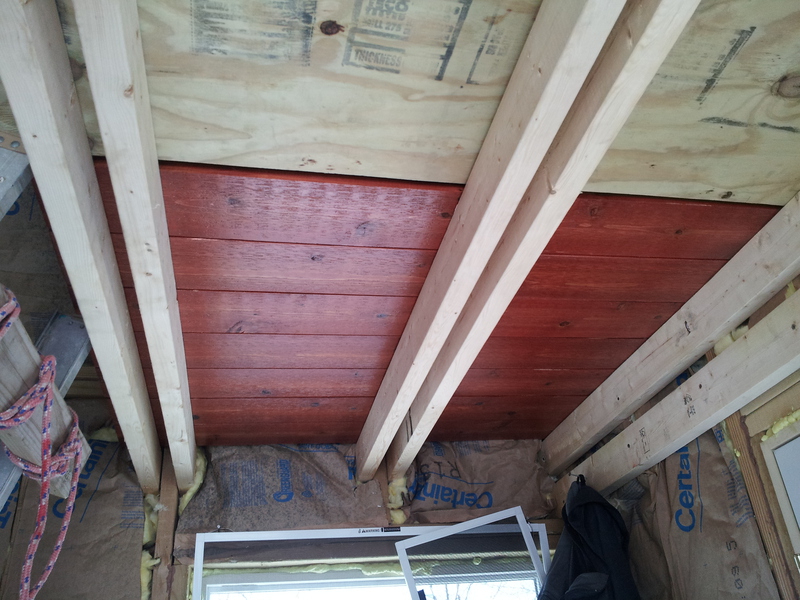
Replacing the temporary plywood loft floor with some stained cedar boards.
Insulating the underside of floor.
Railing added to deck.

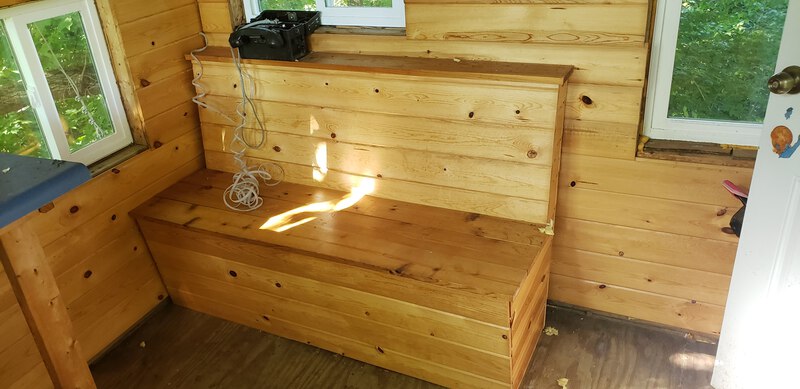
Sitting bench with storage under the seat, and usable as a step up to sleeping loft.
This was not a wise project to build at home and try and hoist up a ladder as it weighs a ton! Fortunately no backs were broken.
Still a work in progress. If I had to come up with one learning lesson, it is that everything is 10x harder in the air. Building a structure on ground level would have been so much easier then dealing with ladders, fall protection, sway, etc.